CAD Design and Drawing Services
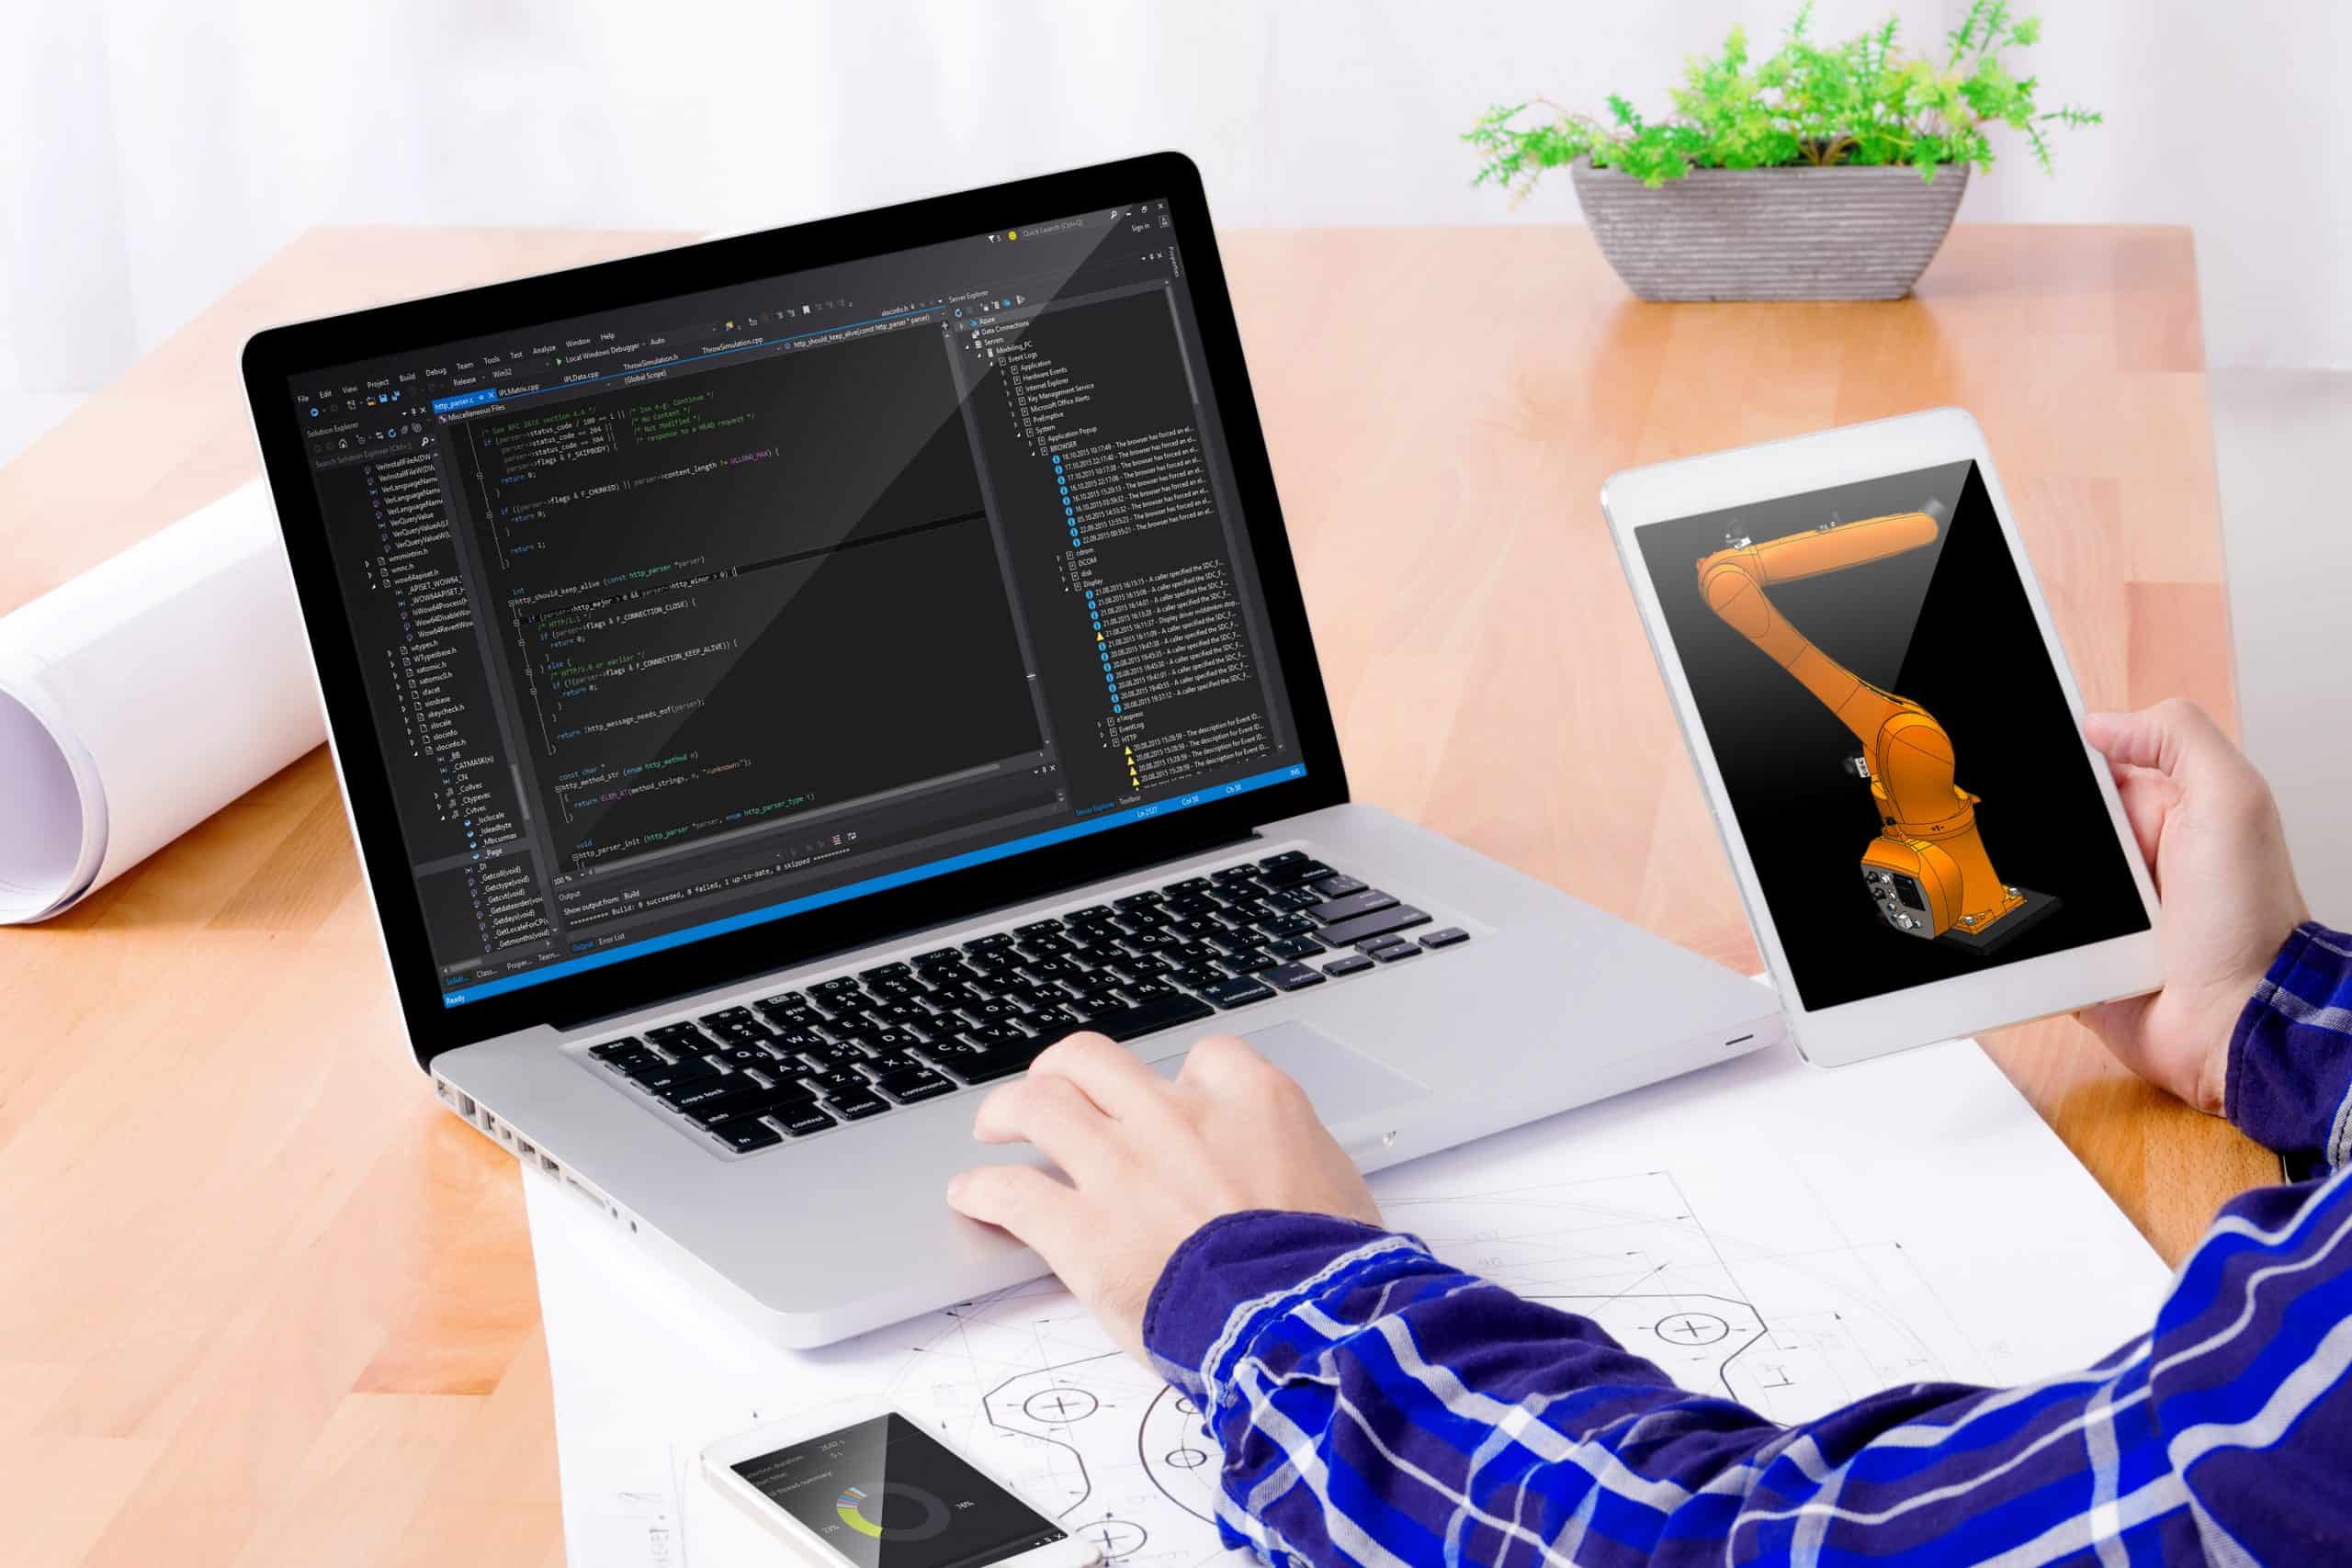
We can turn your ideas into a 3D file ready to print using our CAD design services. These files are carefully created using the latest software by our experienced in-house team. You’ll get to see your ideas really come to life through the CAD software with 360-degree rotation. It’s really where the magic begins to happen.
Our CAD design team can handle projects large and small with many years’ experience producing high quality files for 3D print. Weather you have a sketch on a scrap of paper, or a full digital drawing we can create your 3D print-ready files. We have been lucky enough to create some amazing CAD drawings (and 3D prints) for many movies including Star Wars and Gravity.
How to Create an STL File
If you’d prefer to provide your own STL files follow the steps below.
Step 1: Choose a 3D Modeling Software
The first step in creating an STL file is to choose a 3D modeling software that suits your needs and skill level. There are many options available, from free software like Tinkercad to more advanced software like Fusion 360 and SketchUp. Take some time to explore the different options and find the one that works best for you.
Step 2: Create Your 3D Model
Once you have your 3D modeling software, it’s time to create your 3D model. This can be done in many ways, from starting from scratch to importing a pre-existing model. If you’re new to 3D modeling, it may be helpful to start with a simple object like a cube or sphere and practice manipulating it in the software.
Step 3: Check Your Model for Errors
Before exporting your model as an STL file, it’s important to check it for errors that could cause problems when printing. Common errors include non-manifold geometry, inverted faces, and holes in the model. These errors can often be fixed within the modeling software, but it may take some trial and error to find the right solution.
Step 4: Export Your Model as an STL File
Once you have created and checked your 3D model, it’s time to export it as an STL file. This process will vary depending on the software you’re using, but typically involves selecting the “export” or “save as” option and choosing the STL file format. Be sure to select the appropriate settings, such as the units of measurement and the resolution of the model.
Step 5: Test Your STL File
Before printing your STL file, it’s a good idea to test it using a 3D printing software like Cura or PrusaSlicer. These programs will allow you to preview the printed object and make any necessary adjustments to the settings before printing.
Creating an STL file for 3D printing may seem intimidating at first, but with practice and the right tools, anyone can learn to create 3D models. For more information on creating an STL file or if you need assistance please get in touch
BRINGING YOUR IMAGINATION TO LIFE
Bespoke 3D printing services for every client
Drop us a message with your details and attach any .stl files you have. We'll be intouch ASAP.

